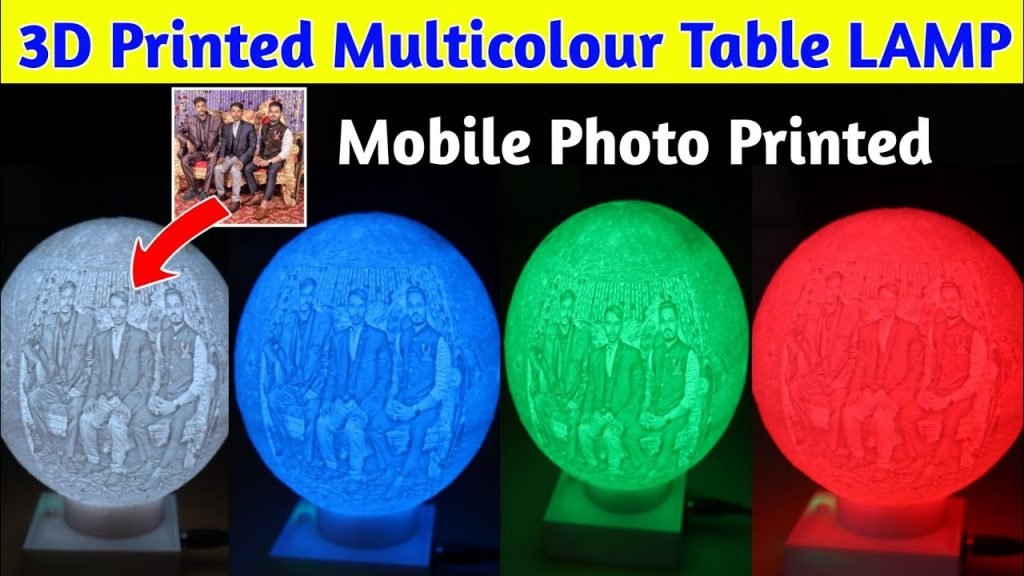
In this post, I will give you all files and information to make a 3D Printed Multicolor table Lamp. You can do business by making table lamps. If you have a 3D printer at your home, you can try once this for projects or business also.
In the below of this post, I have mentioned all the information and files. You can just download those files and print them and make table lamps with multicolor lights.
To complete this project you have to follow a total of four steps. All four steps I have explained in detail the below of this block.
Steps for Making 3D Printed Multicolor table Lamp
Table of Contents
First Step: Prepared Moon with Photo for 3Printing
- First of all, you have to prepare the moon with your customize mobile picture. To do this job you have to go https://lithophanemaker.com/ on this site.
- After visiting the above site you have to change some values according to the below table data. Please follow the below data accurately, otherwise, your moon lap size will be different.
Upload the image and tick on the Moon Background option
| Setting Name | Value |
|---|---|
| Lithophane Resolution (mm/pixel) | 0.25 |
| Sphere Diameter (mm) | 120 |
| Picture Angular Height (degrees) | 90 |
| Picture Angular Width (degrees) | 114.21 |
| Maximum Thickness (mm) | 2.7 |
| Minimum Thickness (mm) | 0.6 |
| Cylinder Outer Diameter (mm) [set to 0 for no cylinder] | 50 |
| Cylinder Height (mm) | 15 |
| Cylinder Thickness (mm) | 5 |
| Cylinder Ledge Outer Diameter (mm) | 50 |
| Top Hole Outer Diameter (mm) [set 0 for no top hole] | 0 |
After doing all these changes just download the STL file for slicing in CURA Slicer
Second Step: Slice all three files for 3D Printing
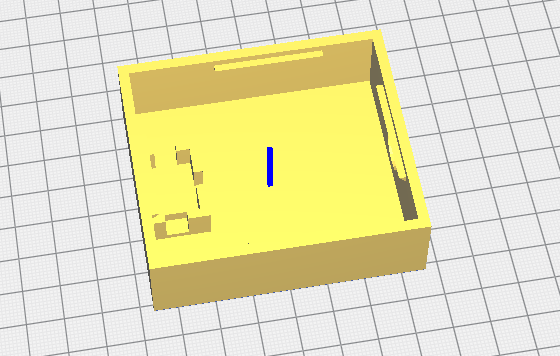
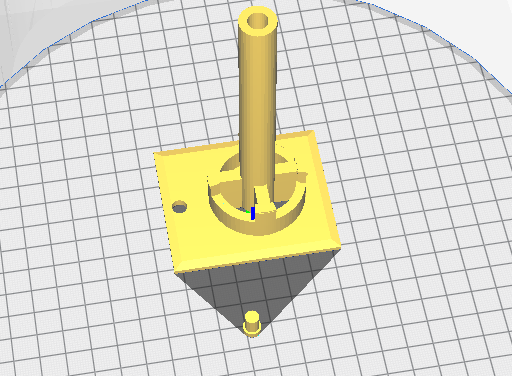
Now you have to slice on the Cura slicer software for the 3D printing through the 3D printer. For 3D printing, you need to download two more files. one is WS2812B LED holder and another one is a moon table lamp base. In the below of this block, I have given pictures and a download link of the two files.
Third Step: Setup WS2812B Pixel LED With Controller
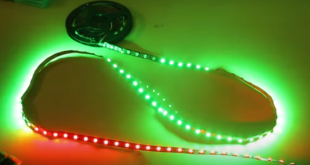
Now you have to install WS2812B Pixel led with the multicolor function controller. You can read our article on how to make the WS2812B controller make controller yourself at home. Also, you can watch the video on how to make a pixel controller.
Fourth Step: Connect 5V Power to Light up the Table Lamp
Now you have to power up the table lamp by using a 5v power adapter. Below this post, I have attached some images to make this project very easilly. Also, I have attached a video tutorial.
